How-To: De-badge the sidepanel emblems
Posted: Mon Mar 03, 2014 2:03 pm
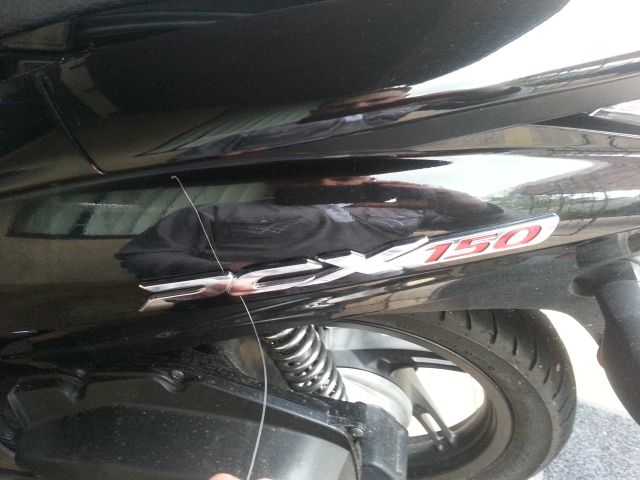
This is a quick down and dirty to de-badge your PCX emblems
Tools:
1.Microfibre Cloth
2.Denatured Alcohol
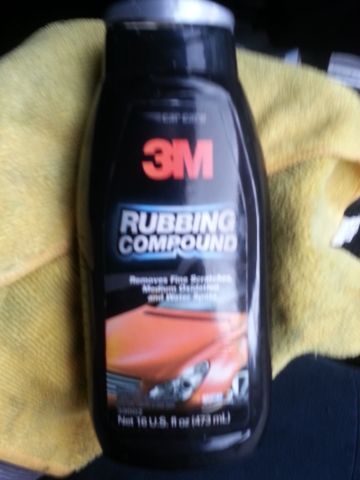
3.Rubbing Compound
4.Fishing line
Lets begin!
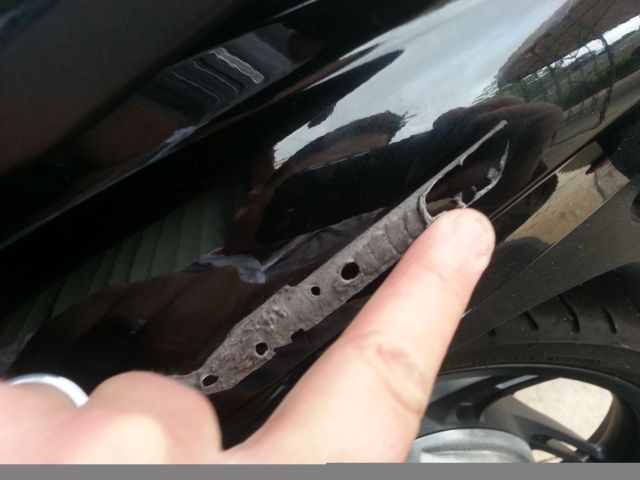
Take that fishing line and get it behind the edge of the emblem. Pull it towards you with both hands, this will cut the glue from the emblem and body panel.
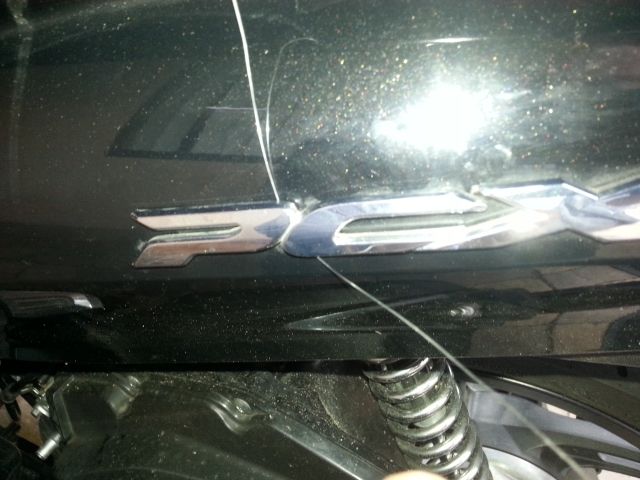
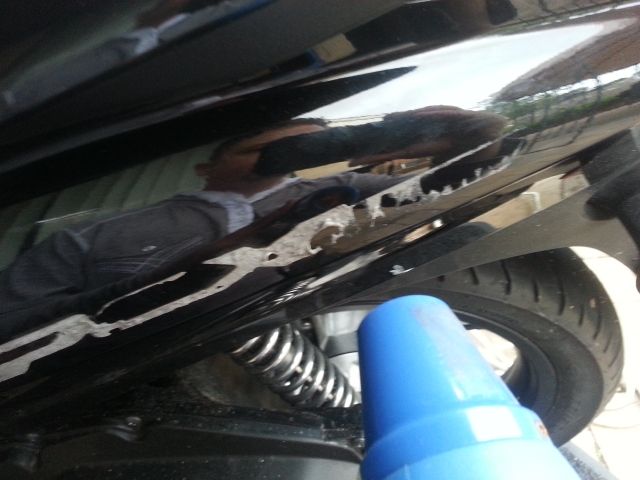
Now use your finger to rub, the rubber glue/adhesive off the panel as best as possible.
If the adhesive is being stubborn hit up the area with either a heat-gun or a blow drier. The blow drier is probably going to be a little safer for the noobs.
Keep working on it slowly
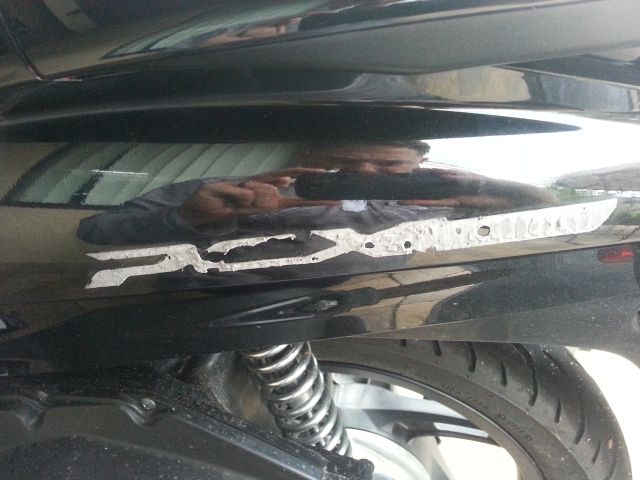
Once you have removed a good portion of the adhesive, you can saturate a rag with the denatured alcohol, then remove the access adhesive.
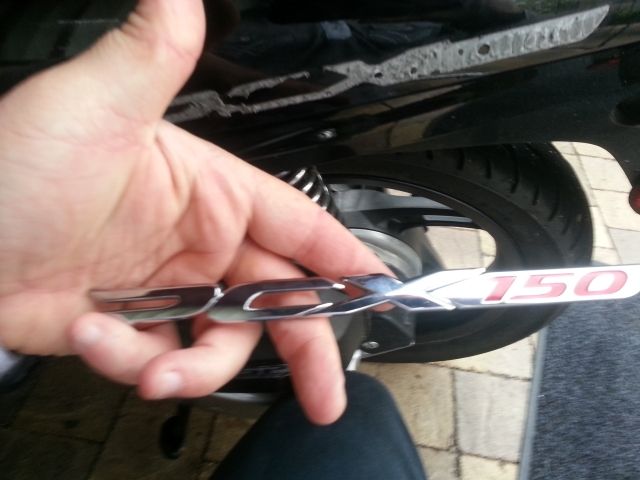
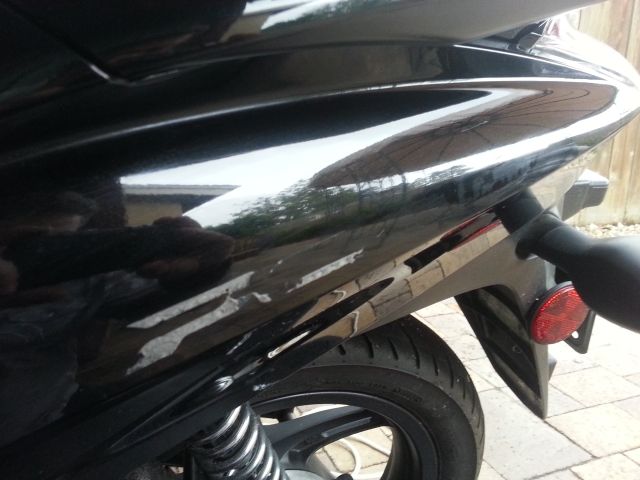
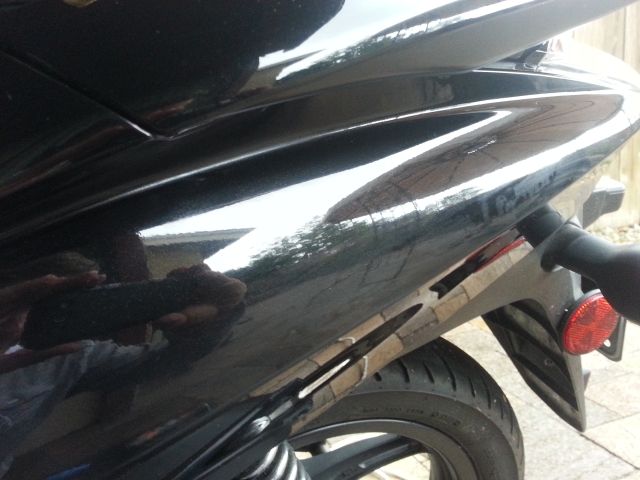
You can now see the emblem has been completely removed, but there is a ghosting effect from emblem and the sun. This is where you will buff out the panel.
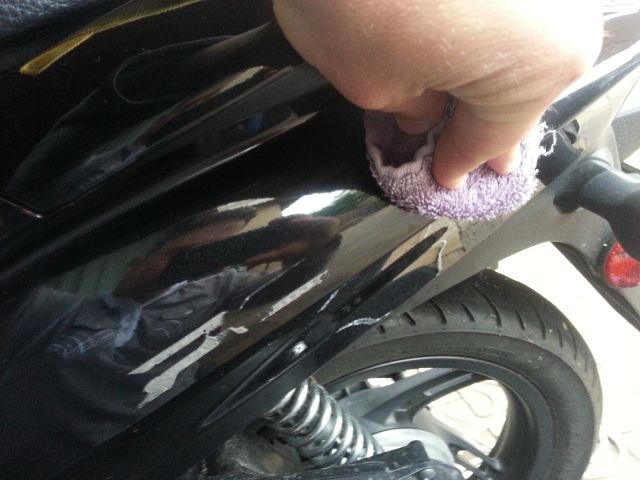
Grab your microfiber cloth or old-white t-shirt and apply in small circular motions.
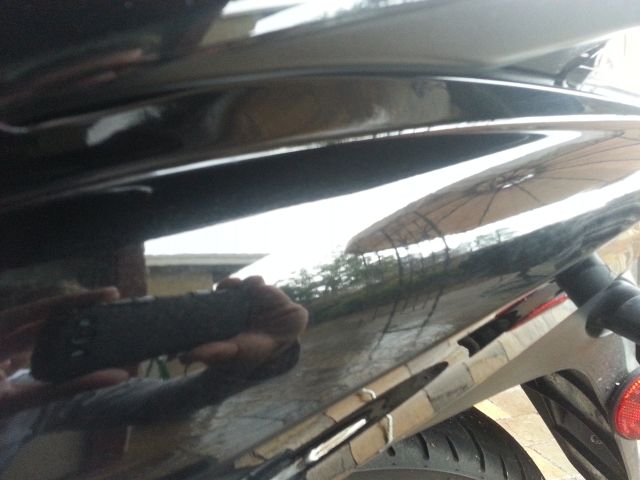
First application
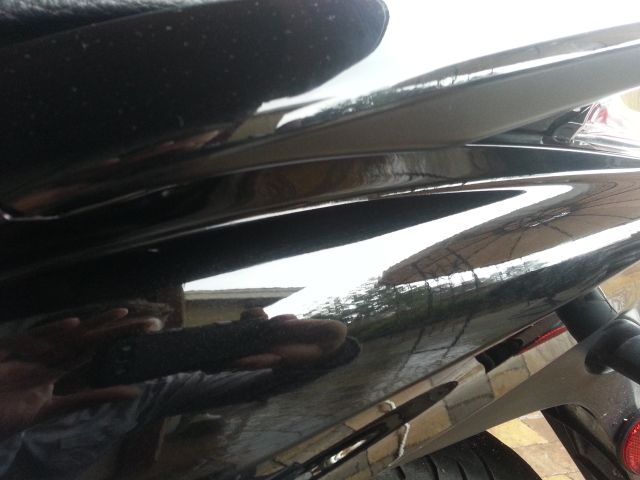
Second and final buffing notice the difference between the first application.
Done.
Tools:
1.Microfibre Cloth
2.Denatured Alcohol
3.Rubbing Compound
4.Fishing line
Lets begin!
Take that fishing line and get it behind the edge of the emblem. Pull it towards you with both hands, this will cut the glue from the emblem and body panel.


Now use your finger to rub, the rubber glue/adhesive off the panel as best as possible.

If the adhesive is being stubborn hit up the area with either a heat-gun or a blow drier. The blow drier is probably going to be a little safer for the noobs.

Keep working on it slowly

Once you have removed a good portion of the adhesive, you can saturate a rag with the denatured alcohol, then remove the access adhesive.

You can now see the emblem has been completely removed, but there is a ghosting effect from emblem and the sun. This is where you will buff out the panel.

Grab your microfiber cloth or old-white t-shirt and apply in small circular motions.

First application

Second and final buffing notice the difference between the first application.

Done.