
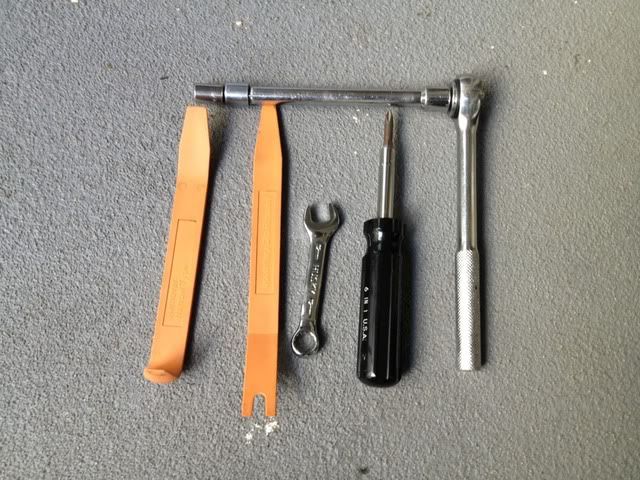
Tools necessary for the job are:
-10mm socket (extension not required) and socket wrench
-SHORT open ended 12mm wrench (was absolutely necessary in my experience, so I wouldn't even start this unless I had a short wrench)
-Philips head screwdriver
-plastic removing tools (very highly recommended for this job)
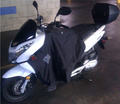
So my combi brake lever was a little loose causing it to sit like this:
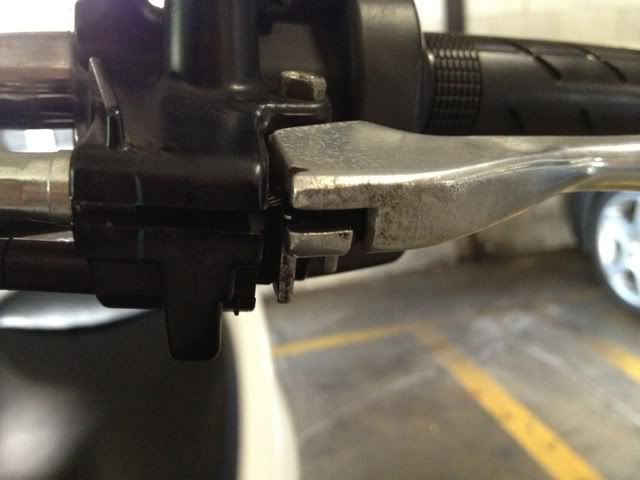

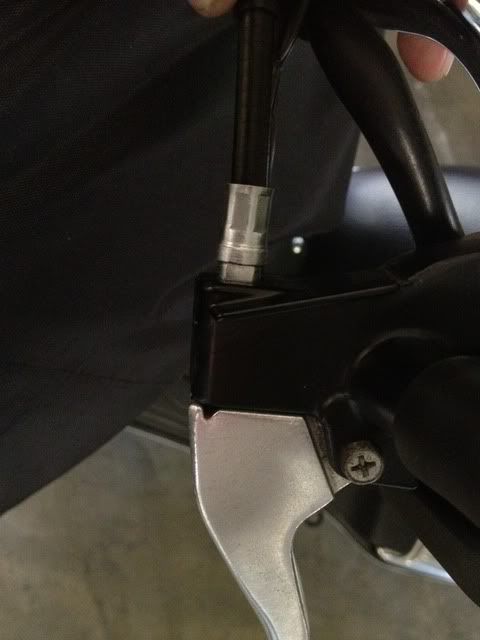
This was a problem seeing that the brake light switch was not being depressed when the handle was released, resulting in my brake light staying constantly on. When pulling on the cable beyond the brake assembly, the slack went away, and the handle sits flush with the assembly, telling me that this cable is what needs adjustment.
For reasons unknown to me, honda thought it was a better idea to put the adjuster on the end of the cable inside the fairing, versus at the end connecting to the brake handle assembly where it would be easily accessable, like on every other motorcycle I have seen that uses cables. Oh well... they're not getting my money for labor =]
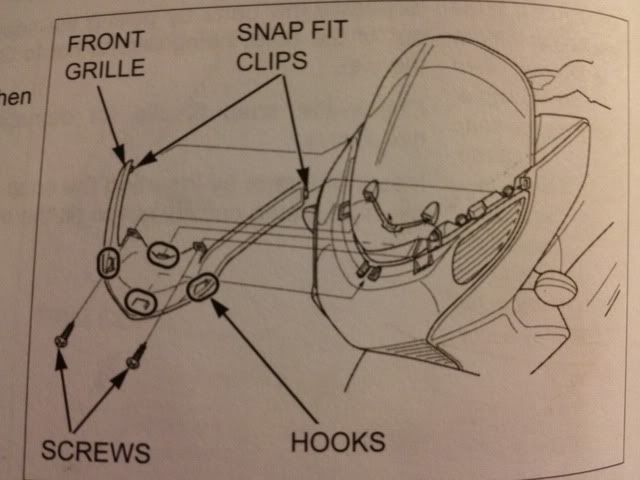
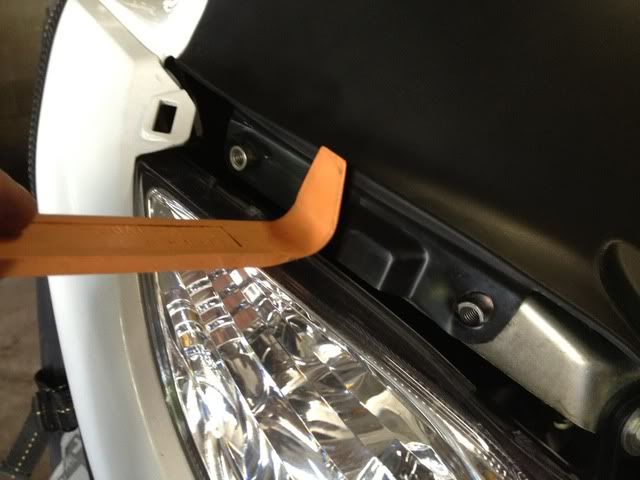
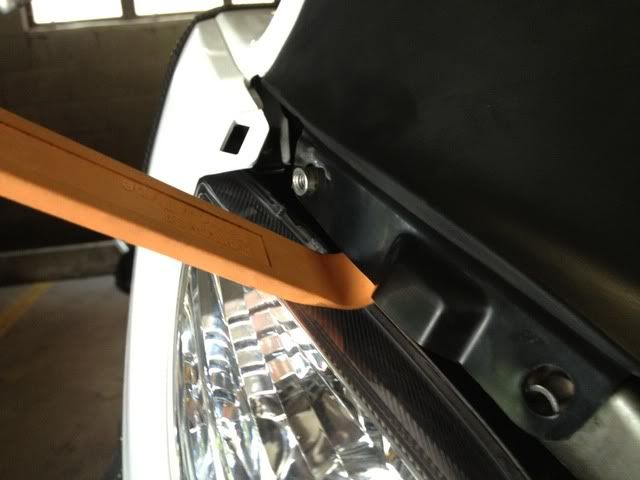
Remove 2 screws and release 2 clips to remove the front grill (plastic removing tools handy)
4 10mm bolts to remove the front screen

and then remove the front meter panel.
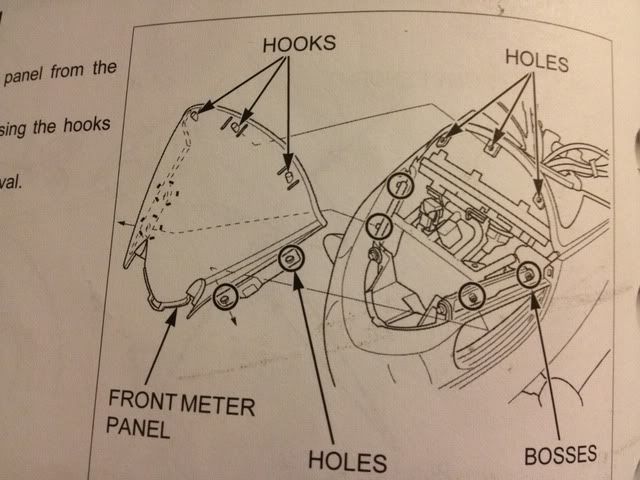
The meter panel is a major PITA to get off, so I feel that the plastic removing tools are very useful and necessary for removing this part. Start by placing a wedge between the meter panel and mount releasing the first hole from the first boss. Don't be afraid to man handle this piece. It is made of an entirely different plastic that is thick and flexible and will not crack under pressure.
After releasing the first hole, you will see a little lifted area where you will be able to fit your plastic removing tool with the 90 degree angle.
Once you get the tool between the panel and mount, slide it back to the other boss, and the entire panel will pop up on that side. Once you get the second boss released (on the same side of the meter panel) the panel will lift out of place.
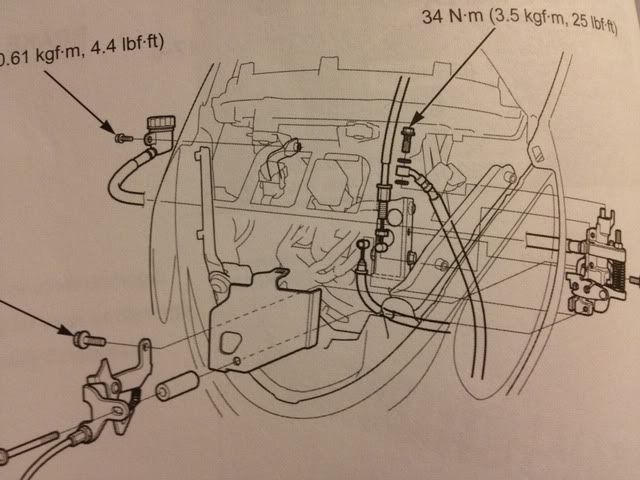
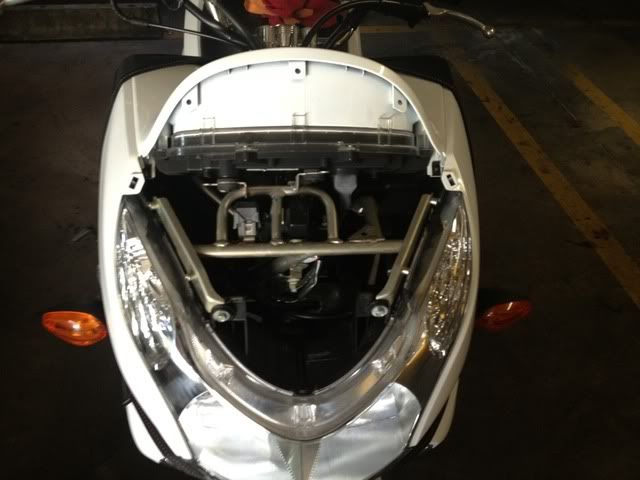
After removing the meter panel this is what you see
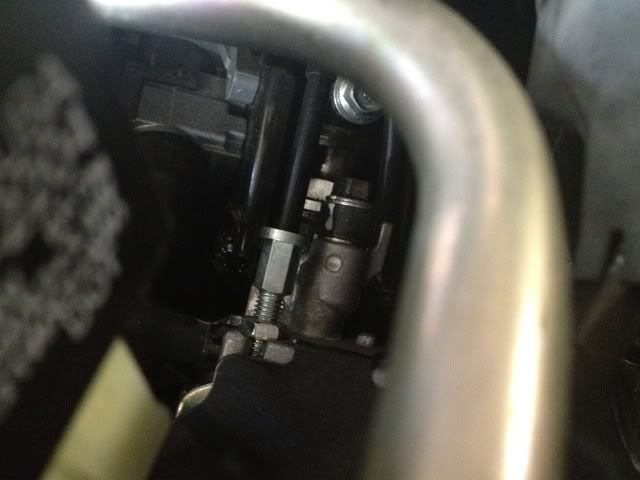
See the adjuster?

Zoom in
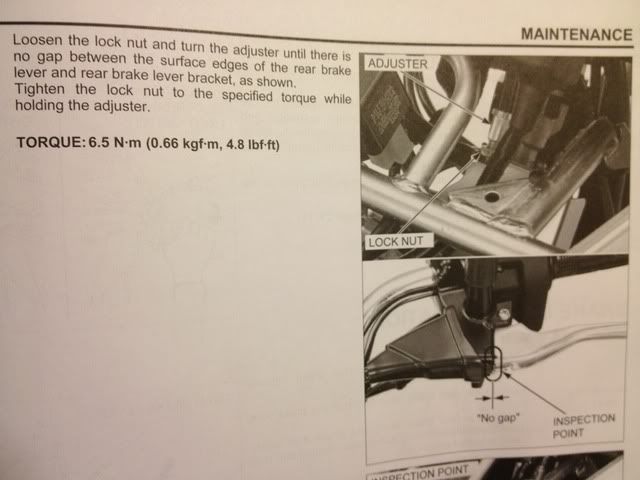
Then, follow these directions to make the actual adjustment of the cable.
I found that my standard size wrenches were too long for this job. No matter what I did I was not able to use my standard length wrench for this job because the fairing stay kept getting in the way when trying to rotate the lock nut loose. You will have to have your whole hand inside the fairing stay with a very short 12mm wrench to be able to get the required clearance.
Hope this helps out! Cables stretch with time, so if this is an issue on your scooter dont be alarmed.... it's fairly normal. This service was done at 6,500 miles.
Thanks! and please let me know if you have any additions or comments!
Eddie